Most roasted broccoli ends up steamed in its own moisture, sitting pale and soft in the pan instead of the crispy, charred version you were hoping for. The fix is straightforward once you understand what’s going wrong: too much broccoli in too small a pan, moisture trapped at the surface, and an oven that isn’t hot enough to drive it all off before the florets turn to mush. This recipe solves all three problems and gets you broccoli that’s genuinely crispy on the edges and tender in the stem — the kind you’ll eat straight off the pan.
Why Your Roasted Broccoli Stays Soft Instead of Crispy
The root cause is almost always overcrowding. When florets are packed tightly on the sheet pan, they release steam as they cook, and that steam has nowhere to go. Instead of roasting, you’re effectively braising the broccoli in its own moisture. The result is soft, slightly waterlogged florets with none of the browning or crispiness you want. The rule is simple: every piece needs space around it. If you’re using a standard half-sheet pan, that means no more than one large head of broccoli per pan, cut into florets and spread in a single layer with room between each piece.
The second issue is surface moisture. Even dried broccoli still has water on the surface that needs to evaporate before browning can start. Patting it dry with a paper towel after washing takes 30 seconds and makes a noticeable difference. The third issue is temperature — most people roast broccoli at 375°F or 400°F, which isn’t quite high enough to create real caramelization on the edges before the interior overcooks. You want 425°F minimum, and 450°F if your oven runs cool.
How to Cut Broccoli for Maximum Surface Area
The way you cut the broccoli directly affects how much of it gets crispy. Large round florets have a convex surface that limits contact with the pan — most of the browning happens only at the very bottom. Instead, cut florets so they have a flat side. When you slice through the crown from top to stem, you create a flat face that sits flush against the pan and gets full contact heat. The flat side is where you’ll get the most char and crispiness, so orienting the florets cut-side down when you put them on the pan is worth taking a moment to do.
Don’t throw away the stems. Peeled broccoli stems, sliced into planks or coins about a quarter inch thick, roast beautifully and often get crispier than the florets because they have a denser texture and more surface area relative to mass. The outer layer of the stem is fibrous and slightly bitter — peel it with a vegetable peeler until you hit the pale green interior and the texture becomes completely different, closer to a tender root vegetable than the tough exterior suggests.
The Right Amount of Oil and Why It Matters
Broccoli needs enough oil to coat every surface, but not so much that it pools at the bottom of the pan. The right amount is about 2 tablespoons of oil per large head of broccoli — enough to coat thoroughly but leave no excess. Too little oil and the broccoli dries out and burns rather than crisping. Too much oil and the moisture from the oil itself inhibits browning on the outer florets while making the undersides greasy. The best method is to toss in a large bowl rather than drizzling directly on the pan, which leads to uneven coating.
For oil choice, neutral high-smoke-point oils work best — avocado oil is ideal because it handles 450°F without smoking. Olive oil works fine at 425°F but can start to smoke at the higher end. The flavor difference between the two is negligible once the broccoli is seasoned properly. Season generously with kosher salt — underseasoning is the most common reason roasted broccoli tastes flat even when the texture is right.
Pan Choice and Oven Position for Even Browning
A heavy sheet pan with low sides (like a half-sheet) works far better than a baking dish with high sides or a non-stick pan. High sides trap steam, which defeats the whole purpose. Non-stick coatings at high heat can degrade over time and perform less predictably than bare metal pans. The best surface is either a heavy aluminum sheet pan or a seasoned carbon steel pan — both conduct heat well and get hot enough to create a good sear on the bottom of each floret. I’ve been using the Taima Titanium Nutri Pan Pro 2.0 for stovetop finishing and it handles high heat without any reactivity or flavor transfer to the vegetables.
Oven position matters more than most recipes acknowledge. Place the rack in the lower third of the oven. The bottom heating element creates more intense radiant heat that gets the pan surface much hotter than mid-rack placement, which translates directly to better caramelization on the contact surface. If you’re cooking two pans at once, rotate them halfway through cooking — the top pan will be finishing faster than the bottom one due to heat distribution differences.
Timing and Checking for Doneness Without Overcooking
At 425°F on a lower rack, broccoli florets cut to about 2 inches take 18 to 22 minutes. Start checking at 18 minutes. What you’re looking for: deep golden-brown on the flat sides that were facing down, slightly charred tips on the crown, and a stem that yields easily when you pierce it with a knife. The color change from yellow-green to deep green to slightly brown at the edges is the visual indicator — not a timer. Ovens vary enough that a 3 to 4 minute range is realistic.
Don’t flip the broccoli during roasting unless you’re doing a very thick stem cut. Flipping disrupts the contact surface and releases steam from both sides. The goal is to let the flat bottom surface caramelize undisturbed until it’s deep golden, then the residual heat finishes the top without burning. If you feel the need to check progress, pull the pan slightly forward and use a spatula to lift one floret — if the underside is brown, it’s ready or close; if it’s still pale, give it another 3 to 4 minutes.
Finishing Options That Upgrade Plain Roasted Broccoli
The best additions go on after the broccoli comes out of the oven, not before. A squeeze of fresh lemon juice right when it hits the pan lifts the entire dish — the acid cuts the slight bitterness in the char and makes the flavor feel brighter and more complete. Grated parmesan added in the last 3 minutes of cooking melts into the florets and crisps slightly at the edges; adding it at the start just burns it. A pinch of red pepper flakes in the oil before roasting adds background heat without overpowering the vegetable.
For a more substantial side, finish with a drizzle of tahini thinned with lemon juice and a tablespoon of water, plus a handful of toasted sesame seeds. The tahini clings to the crispy florets and adds richness without masking the roasted flavor. This pairs well with the roasted vegetables in my roasted vegetables guide, which covers the same technique applied to a wider variety of produce — the principles carry over directly.
Using the Right Cookware to Extend This Technique
Once you have the roasting technique right, it’s worth applying it consistently across vegetables. The key is a pan that doesn’t warp at high heat and doesn’t have a non-stick coating that degrades over time. I’ve written more about why titanium cookware handles high heat better than most alternatives — the same properties that make it good for searing protein make it excellent for high-heat vegetable roasting and stovetop finishing. If you’re making roasted broccoli regularly, having a reliable pan for both oven and stovetop work saves you from juggling multiple pieces of equipment. The 52-Week High-Protein Meal Prep Cookbook also has a full section on batch-roasting vegetables for the week ahead, which is a practical way to use this technique at scale.
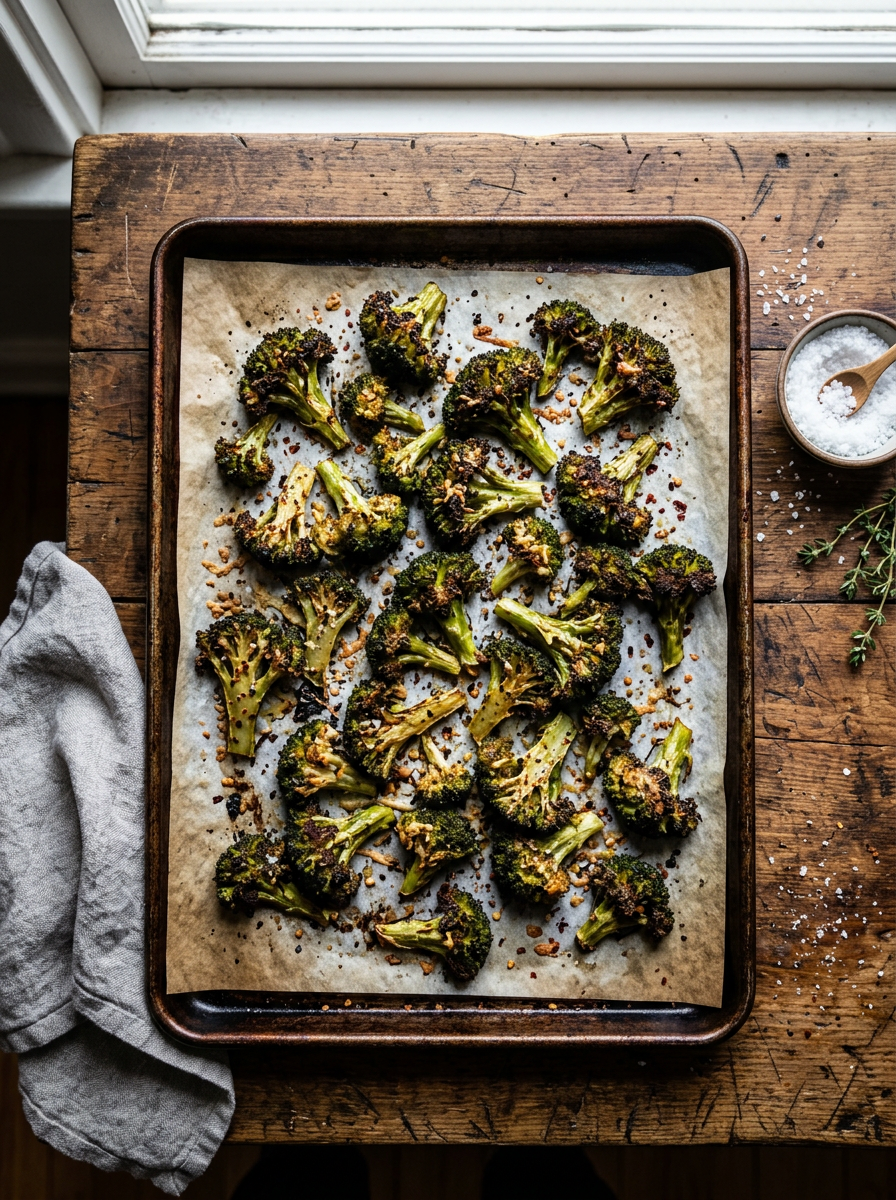
Crispy Roasted Broccoli
Prep: 10 min | Cook: 20 min | Total: 30 min | Servings: 4
Ingredients
- 1 large head broccoli (about 1.5 lbs), cut into flat-sided florets
- 2 tbsp avocado oil or olive oil
- 3/4 tsp kosher salt
- 1/4 tsp black pepper
- Optional: 1/4 tsp red pepper flakes, 2 tbsp grated parmesan, juice of half a lemon
Instructions
- Preheat oven to 425°F. Place rack in the lower third of the oven.
- Wash and thoroughly dry broccoli. Cut into florets with a flat face on each piece. Peel and slice stems into 1/4-inch coins.
- Toss broccoli in a large bowl with oil, salt, pepper, and red pepper flakes if using. Every surface should be coated.
- Spread in a single layer on a heavy half-sheet pan — flat sides down, pieces not touching.
- Roast 18 to 22 minutes without flipping. Check at 18 minutes: undersides should be deep golden brown, tips slightly charred.
- If adding parmesan, scatter it over the broccoli in the last 3 minutes of cooking.
- Remove from oven, squeeze lemon over immediately, and serve.
Tools
- Heavy half-sheet pan (aluminum or carbon steel preferred)
- Taima Titanium Nutri Pan Pro 2.0 — for stovetop finishing with high-heat vegetables
- Large mixing bowl for tossing
- Vegetable peeler for stems
Notes
Don’t skip drying the broccoli — surface moisture is the primary obstacle to crispiness.
Stems roast well and get crispy — don’t discard them.
Flat side down: cut florets so they have a flat face that sits flush against the pan.
More high-heat vegetable techniques: titanium cookware guide.
Leave a Reply