There’s something magical about a batch of freshly baked sugar cookies. Whether you’re rolling them out for the holidays, baking them with your kids on a rainy afternoon, or just craving something sweet and buttery, sugar cookies have a way of making any moment feel a little more special. They’re simple, they’re classic, and when you get the recipe right — they are absolutely irresistible.
I’ve tested this recipe more times than I can count, tweaking ratios and chilling times until I landed on the version I’m sharing with you today. These cookies hold their shape beautifully, bake up soft in the center, and have just the right amount of sweetness. They’re the kind of cookies that disappear from the plate before they even have a chance to cool down.
Whether you’re a seasoned baker or just getting started, I promise you can nail these. And if you’re newer to baking and want to build a solid foundation in the kitchen, be sure to check out my Baking 101 eBook — it’s packed with tips, techniques, and beginner-friendly recipes that will give you the confidence to bake anything.
Now, let’s get into it!
What You’ll Need Before You Start
A couple of tools will make this process so much easier and more enjoyable. First, if you don’t already own an adjustable rolling pin, it’s honestly a game changer. It takes all the guesswork out of rolling your dough to an even thickness, which means your cookies bake evenly every single time — no more burnt edges with a raw center.
Second, you’re going to want some good cookie cutters. I love the Ann Clark Cookie Cutters — they come in a huge variety of shapes, they’re made in the USA, and they cut through dough cleanly without dragging or distorting your shapes. Whether you’re making hearts, stars, or seasonal shapes, they never let me down.
The Best Sugar Cookie Recipe
Prep Time: 20 minutes | Chill Time: 1 hour | Bake Time: 8–10 minutes | Makes: About 24–30 cookies (depending on cutter size)
Ingredients
- 3 cups all-purpose flour
- 1 tsp baking powder
- ½ tsp salt
- 1 cup (2 sticks) unsalted butter, softened to room temperature
- 1 cup granulated sugar
- 1 large egg
- 1½ tsp pure vanilla extract
- 1 tsp almond extract (optional, but highly recommended)
- 2 tbsp sour cream (the secret to keeping them soft!)
Instructions
Step 1 — Make your dough. In a medium bowl, whisk together the flour, baking powder, and salt. Set aside. In a large bowl, beat the softened butter and sugar together with a hand mixer or stand mixer on medium speed for 2–3 minutes until light and fluffy. Don’t rush this step — creaming the butter and sugar properly is what gives your cookies that beautiful texture. Add the egg, vanilla extract, almond extract (if using), and sour cream, then mix until well combined. Gradually add in the flour mixture and mix on low until a soft dough forms.
Step 2 — Chill the dough. Divide the dough in half, flatten each portion into a disk, wrap in plastic wrap, and refrigerate for at least 1 hour — or up to 48 hours. Chilling the dough is non-negotiable here. It prevents the cookies from spreading too much in the oven and makes the dough so much easier to roll out. If you’re short on time, 30 minutes in the freezer will also do the trick.
Step 3 — Preheat and prep. When you’re ready to bake, preheat your oven to 375°F (190°C). Line your baking sheets with parchment paper and set aside.
Step 4 — Roll and cut. Lightly flour your work surface and rolling pin. Remove one disk of dough from the fridge and let it sit for 5 minutes to soften just slightly. Using your adjustable rolling pin, roll the dough out to ¼ inch thickness — this gives you that perfect soft-but-sturdy cookie. Cut into your desired shapes using your Ann Clark Cookie Cutters and place them about 1 inch apart on your prepared baking sheets. Re-roll any scraps and repeat.
Step 5 — Bake. Bake for 8–10 minutes, or until the edges are just barely starting to turn golden. The centers may look slightly underdone — that’s exactly what you want! They’ll continue to firm up as they cool on the pan. Pull them out on the early side if you love a softer cookie.
Step 6 — Cool completely. Let the cookies cool on the baking sheet for 5 minutes before transferring to a wire rack. Make sure they are fully cooled before frosting — this is important!
Tips for Sugar Cookie Success
Don’t skip the chill time. I know it’s tempting to go straight from mixing to baking, but the rest in the fridge makes a real difference in both texture and shape retention.
Use room temperature butter. Cold butter won’t cream properly, and melted butter will make your dough greasy. Let it sit on the counter for about 30–45 minutes before you start.
Flour your surfaces lightly. Too much flour worked into the dough will make your cookies dry and tough. Use just enough to keep things from sticking.
Bake one sheet at a time. For the most even baking, stick to the center rack and bake one sheet at a time rather than rotating two.
Consistent thickness = consistent baking. This is exactly why that adjustable rolling pin is worth every penny — no more cookies that are thick in the middle and thin at the edges.
Conclusion
And there you have it — soft, perfectly shaped, buttery sugar cookies that are ready to be decorated and shared (or eaten straight off the cooling rack — no judgment here!). This recipe is one of those trusty staples you’ll come back to again and again, for every holiday, birthday, and “just because” occasion in between.
Baking really is one of life’s simple joys, and I hope this recipe brings a little extra sweetness to your day. If you’re looking to sharpen your skills in the kitchen and feel more confident with everything from measuring ingredients to mastering baking times, my Baking 101 eBook is a wonderful place to start. It’s the resource I wish I’d had when I first started baking, and I think you’re going to love it.
Ready to Frost Those Cookies?
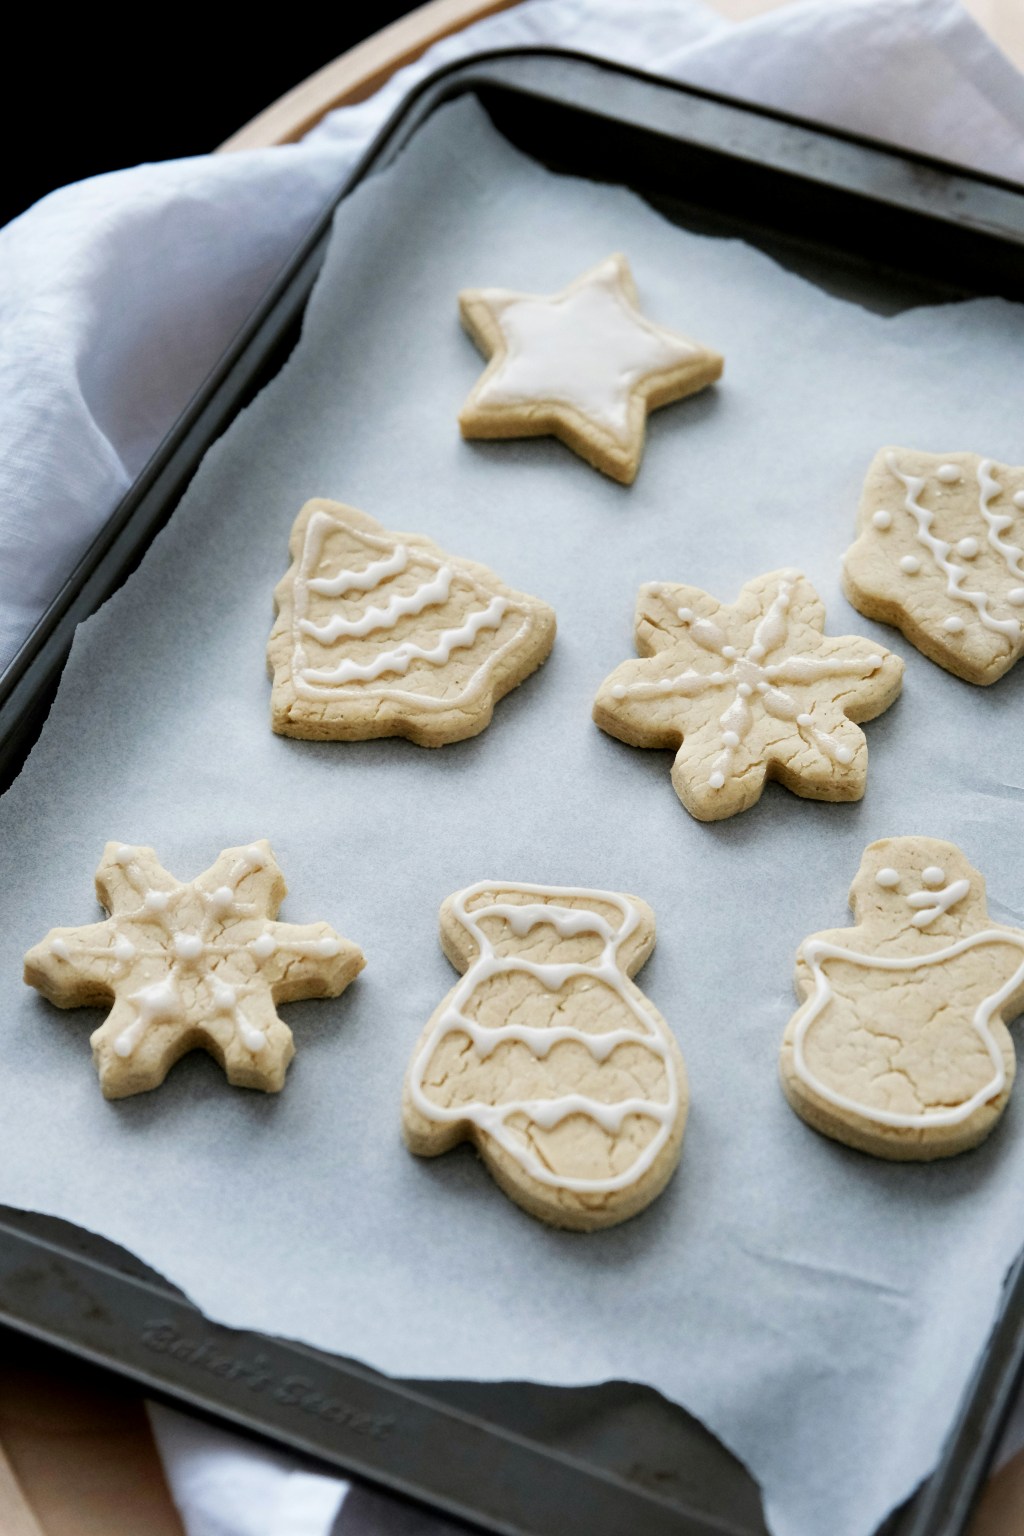
Now that your cookies are baked and cooled, the real fun begins! Head over to my Sugar Cookie Frosting post where I’m sharing my go-to frosting recipe — it’s smooth, easy to work with, and dries beautifully so your cookies stack and travel without a smudge. Whether you’re a piping bag pro or a casual knife-spreader, I’ve got you covered. You won’t want to miss it!
Happy baking! 🍪

Leave a comment